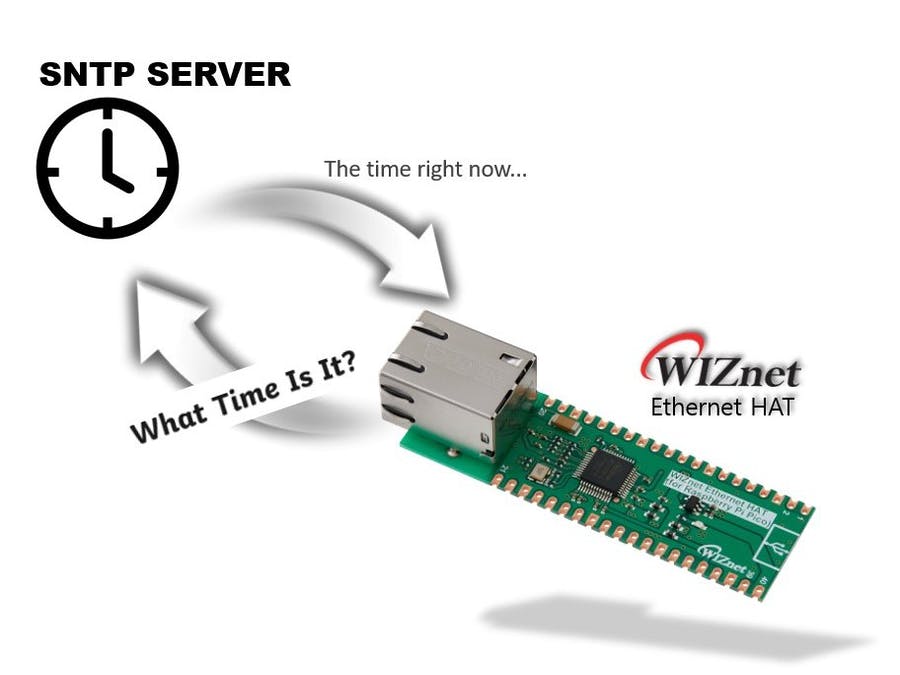
WIZnet Ethernet HAT이 NTP 서버에 액세스하여 현재 시간 정보를 가져온다. NTP는 연결되어 있는 PC들끼리 시간을 동기화시키는데 사용되는 프로토콜이다. CircuitPython 환경아래에서 제작했으며 Python 코드로 구성되어 있다.
Overview
W5100S은 Ethernet Controller 칩의 하나로 TCP/IP 프로토콜이 하드웨어 로직으로 구현되어 있어 칩 레벨에서 프로토콜 처리를 할 수 있다. W5100S를 라즈베리 파이 피코와 호환하는 보드이며 3.3V 5V와 8개 GND 핀을 지원한다.
W5100S에 대한 자세한 내용은 이 링크를 참조.
- Raspberry Pi Pico Pin-Compatible
- Ethernet (W5100S Hardwired TCP/IP CHIP)
- Product page : https://docs.wiznet.io/Product/iEthernet/W5100S/overview
- Support 4 Independent Hardware SOCKETs simultaneously
- Support SOCKET-less new Command: ARP-Request, PING-Request
- Support Auto-MDIX only when Auto-Negotiation mode


RP2040 Datasheet - https://www.raspberrypi.org/documentation/microcontrollers/raspberry-pi-pico.html
Raspberry Pi Documentation - Raspberry Pi Pico
The official documentation for Raspberry Pi computers and microcontrollers
www.raspberrypi.com

준비하기
Prepare Hardware
1. 라즈베리피코와 WIZNet Ethernet HAT을 결합한다.
2. Micro 5 pin 케이블을 이용하여 Raspberry Pi Pico와 PC를 연결하여준다.
3. Ethernet cable을 Ethernet HAT에 있는 포트에 연결하여 링크 LED가 들어오는 지 확인한다.
- W5100S-EVB-PICO 보드를 사용하게 된다면 (1.내용을 생략하면 된다.)


Prepare Software
1.Installing CircuitPython
아래 링크를 참조하여 Raspberry pi Pico에 CircuitPython을 설치하여 준다.
https://learn.adafruit.com/getting-started-with-raspberry-pi-pico-circuitpython/circuitpython
Getting Started with Raspberry Pi Pico and CircuitPython
The Raspberry Pi foundation changed single-board computing when they released the Raspberry Pi computer, now they're ready to do the same for microcontrollers with the release of the brand new Raspberry Pi Pico.
learn.adafruit.com
- Download the below uf2 file link on your computer
CircuitPython 7.0.0 - https://downloads.circuitpython.org/bin/raspberry_pi_pico/en_US/adafruit-circuitpython-raspberry_pi_pico-en_US-7.0.0.uf2

2.Setup WIZnet Ethernet wiznet5k Library
wiznet5k 라이브러리를 가져와 Pico 내부에 있는 lib폴더에 복사하여 준다. 자세한 환경설정은 CircuitPython에서 설명하고있다. 시작하기 전 lib 폴더에 다음 사진과 같은 폴더가 있는 지 확인하면 환경설정은 끝이다.
https://github.com/Wiznet/RP2040-HAT-CircuitPython
GitHub - Wiznet/RP2040-HAT-CircuitPython
Contribute to Wiznet/RP2040-HAT-CircuitPython development by creating an account on GitHub.
github.com
adafruit_bus_device
adafruit_wiznet5k

시작하기
1.Install Programs
Teraterm은 터미널 콘솔프로그램이며 PC와 사용자가 통신할 수 있게 도와주는 인터페이스이다. 주목적은 시리얼 통신 목적으로 사용하게 된다.
Download File List - Tera Term - OSDN
Download File List - Tera Term #osdn
osdn.net
"장치관리자"를 열어 해당 포트가 몇번포트로 열려있는 지 확인한다. 이후 해당 COM포트로 Teraterm을 통해 라즈베이파이 피코와 연결한다.

2. How to SNTP Example
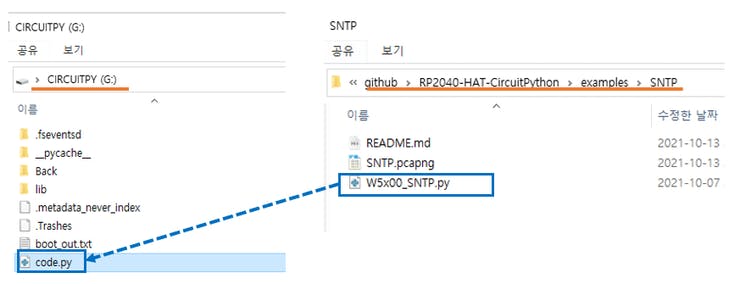
WIZnet github에 접속하여 CircuitPython SNTP 소스를 가져와 피코 내부에 있는 code.py에 복사한다.
Setup SNTP Example
download - https://github.com/Wiznet/RP2040-HAT-CircuitPython/tree/master/examples/SNTP
GitHub - Wiznet/RP2040-HAT-CircuitPython
Contribute to Wiznet/RP2040-HAT-CircuitPython development by creating an account on GitHub.
github.com

터미널창에서 "Ctrl+D" 를 누르게 되면 피코가 실행된다. 터미널에서 실행되는 메세지는 다음과 같다. 반대로 "Ctrl+C"를 누르게 되면 실행 중인 소스가 멈추게 된다.
서버의 도메인 URL에 접속하여 IP 주소를 변환한다. 또한 현재 시간 정보 값을 터미널에 출력하게 된다.

WIZnet/RP2040 gitub source
이밖에 다른 예제를 확인하려면 아래 링크에 있는 WIZnet github에 접속하여 다양한 프로토콜 예제를 확인할 수 있다.
https://github.com/Wiznet/RP2040-HAT-CircuitPython
GitHub - Wiznet/RP2040-HAT-CircuitPython
Contribute to Wiznet/RP2040-HAT-CircuitPython development by creating an account on GitHub.
github.com
'IT' 카테고리의 다른 글
| WIZnet Ethernet HAT[RP2040] + HTTP WebClient 구축하기 (0) | 2021.10.25 |
|---|---|
| WIZnet Ethernet HAT[RP2040] + HTTP WebServer 구축하기 (0) | 2021.10.25 |
| WIZnet Ethernet HAT[RP2040] Loopback Test 진행하기 (0) | 2021.10.25 |
| WIZnet RP2040-HAT을 통해 Adafruit IO 접속하기- Uplink & DownLink [CircuitPython] (0) | 2021.10.01 |
| WIZnet RP2040-HAT을 통한 MQTT - Publish & Subscribe [CircuitPython] (0) | 2021.10.01 |


